
A quick post to wish you all a Happy New Year and some ramblings from me to you...My son and his family will soon be moving into a home that was built a number of years ago...we've been mulling over color choices and I thought you might enjoy seeing the process unfold.
We are dealing with 1960's and 70's colors...particularly avocado green in a bathroom! So daughter in law, Robin and I pulled this avocado Fire King cup (shown below) from one of the display tables in our shop, Dwellings, and began formulating a design plan and color palette. (Click on image to see close up.)

We are dealing with 1960's and 70's colors...particularly avocado green in a bathroom! So daughter in law, Robin and I pulled this avocado Fire King cup (shown below) from one of the display tables in our shop, Dwellings, and began formulating a design plan and color palette. (Click on image to see close up.)
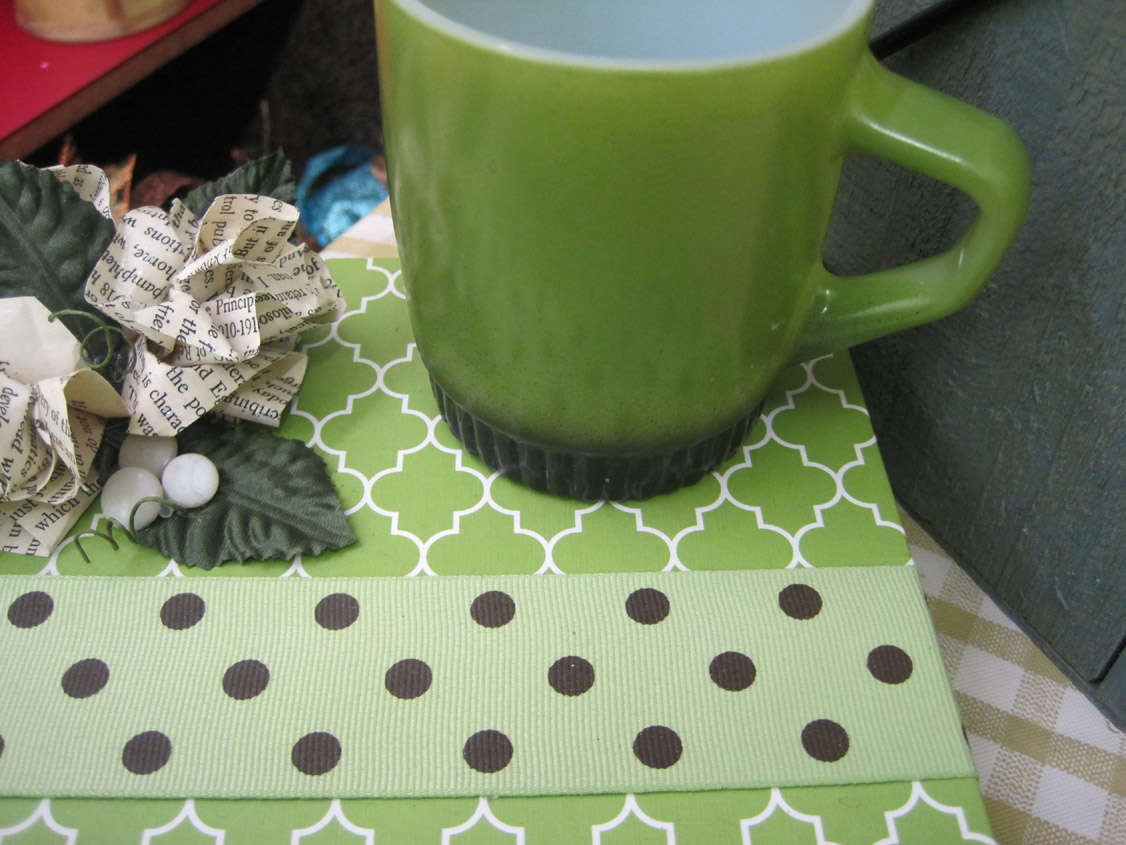
This green is so very 60/70'ish that we decided to treat it as the "neutral" in the room. Below you will see the fabric that I am using in my "office" at the shop and we decided on that color palette which uses medium blue, turquoise, avocado and lime.

(To make shelves in the office, I turned dresser drawers on their sides and stacked them in the corner.) If you will look closely you will see the colors we chose.

Precious melmac plates from the era give us good strong shapes to use.

The little girl with the goose statue adds orange as the contrasting "pop" of color!

Close up of the colors we like.

My motto has always been, when you are handed a decorating problem (ie avocado) and don't have a million bucks to throw at it...use common sense and incorporate the "offending" color. But make sure you use colors you do LOVE with it! We will show you how this works as we move along.
Moving right along...I found this cute little white hamper this weekend
and have it priced reasonably at the shop.

It is small and would make a wonderful little addition to a little girl's room

It is small and would make a wonderful little addition to a little girl's room
...or maybe painted and put in your little ball player's room!
Next...onto my latest obsession...teabag roses! Heavens!
Next...onto my latest obsession...teabag roses! Heavens!
It's always something!
I can't say I'm responsible for this idea,
but these are the cutest little paper roses!
Let me tell you how they were made.

Directions:

Directions:
To make, use a "used teabag".
Cut off the string and top of the bag,open the bag,
empty the grounds into the garbage, and rinse the bag well.
Then let the bag dry.
(The steeped tea dyes the paper a beautiful aged color.)
When dry, cut the paper in half lengthwise.
You will have two sides to make two roses.
At this point, fold one of the papers lengthwise.
I begin rolling the paper around a toothpick to make the center of the rose, remove the toothpick, and then continue scrunching and rolling the paper until it makes a little rose.
I trim off the bottom and hot glue the rose to the desired surface.
If you want to make roses for later use,
I'd suggest paper clipping the bottom to hold it until you need it.

Above are the roses used on my wicker baby shoe tassels. (For sale at Dwellings.)
Below are the roses used in small silver baby cups

Above are the roses used on my wicker baby shoe tassels. (For sale at Dwellings.)
Below are the roses used in small silver baby cups
with tiny bird's nest and a card of welcome.

(These are also for sale.) Cute baby gift!


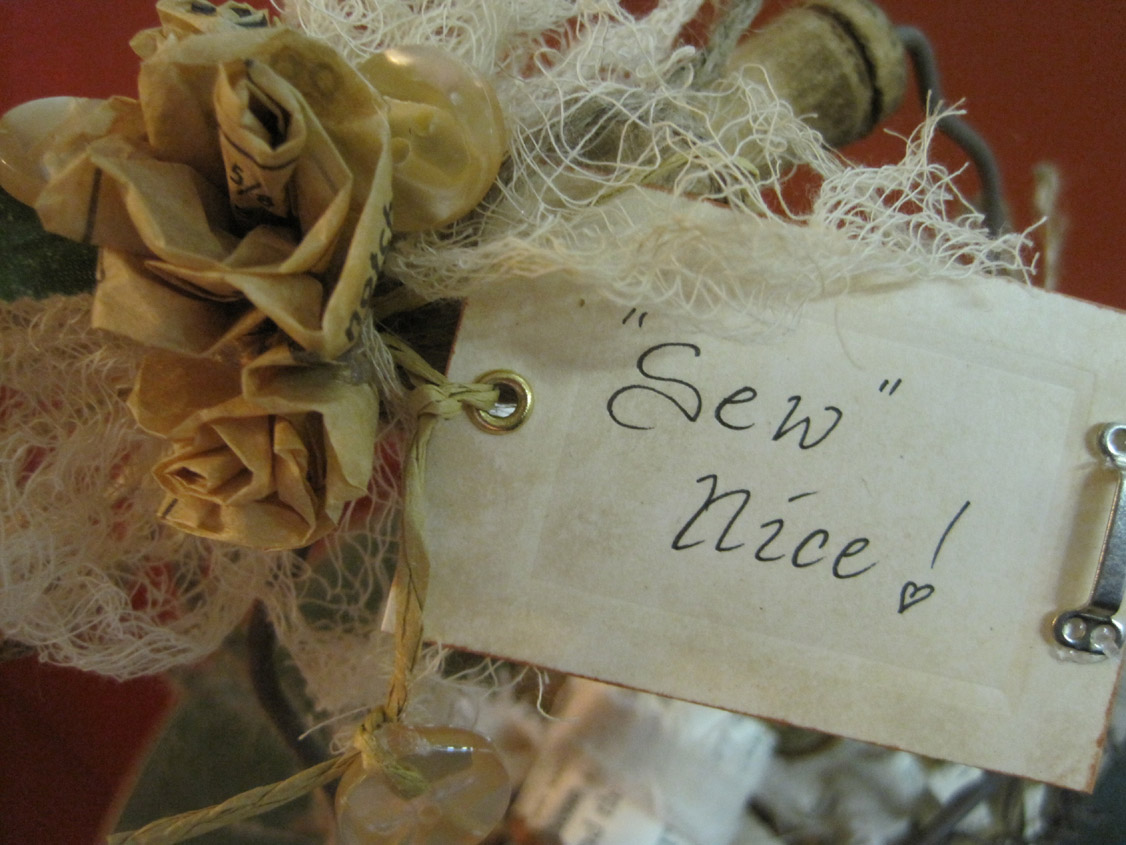
I also decided to make a small sewing basket containing old wooden thread spools.


I also decided to make a small sewing basket containing old wooden thread spools.
For these roses, I used old dress patterns!


Enough of my "scatter shooting"!!
Hope you're all healthy and happy!


Enough of my "scatter shooting"!!
Hope you're all healthy and happy!
No comments:
Post a Comment