Welcome!

I am glad you chose to visit! My blog is a compilation of the many hats I find myself wearing. On any given day I may be an encourager, an instructor, or just a lady who is venting. You, dear reader, will probably identify with my triumphs and my tribulations! These snapshots fit into my Life Scrapbook I have named A. McInnis Artworks. I hope you will find something worth your while.


Showing posts with label recipe. Show all posts

Monday, November 17, 2014

Over the River and Through the Woods....


Thanksgiving's on its way!! I have always had the most difficult time making dressing (southern for "stuffing".) Once we threw it out to the birds and they flew away...so when I found this recipe for Crock Pot Chicken and Dressing, I thought, "Why not?" I am SO glad I tried it...it's not the usual throw everything into the slow cooker and walk away. The prep time is longer, but it's worth it...this is THE BEST DRESSING ever! I found this recipe here:  http://www.mommyskitchen.net/2012/10/crock-pot-chicken-dressing-happy.html
I must say, her blog on this was much prettier than mine! I am still getting used to Windows 8 and a new laptop. Either way, you will enjoy this recipe. I promise.

Read recipe all the way through before attempting. Here are the ingredients and instructions.

                             Bake 3 boneless skinless chicken breasts for about  40-45 minutes
                                                                     @ 375 degrees.
                                     (The recipe called for 5 but my family doesn't like that
                                                                     much chicken.)
                                                     Reserve broth from baked chicken.

Chop 2 stalks celery and 1 small onion
 (This is to be added to cornbread mixture below)

1-2 t. sage, 1 t. salt, 1-2 t. poultry seasoning,
and 1 t. pepper.
Add to cornbread mixture below.

Make two cornbreads from 2 packages of mix or use your own recipe.
 I used corn BREAD mix...NOT muffin mix!
(Muffin mix is sweet.)
Toast a hamburger bun or two pieces of bread.

Crumble and combine cornbread and 1 toasted hamburger bun
or 2 pieces of toasted bread.
Add spices.
 

Boil two eggs, peel and chop. Add to cornbread mix.

At this point, add one can of Cream of Chicken soup,
two cans of chicken broth and any chicken broth from the cooked
chicken breasts to the cornbread/bread mixture.
I used my Kitchenaid mixer to gently combine the mixture.
 

Melt one stick of butter.

Shred chicken breasts and get ready to add to cornbread mixture.
Add shredded chicken and melted butter to cornbread mixture.

Tip: I shred my chicken while it's warm with the mixer.
Add shredded chicken (after the butter) to the cornbread
mixture.

Tip: Melt butter in small bowl in microwave.

Tip: I have discovered Reynolds Slow Cooker liners!!
Greatest invention EVER! Add liner to Crock Pot.

Set on high for 4 hours.
Add 1/2 can of second can of Cream of Mushroom soup to bottom of liner.
Spread around the bottom.
Add all mixed ingredients to Crock Pot
 and  add the other 1/2 of the soup to the top.
The original recipe called for layering.
I did NOT do this, but feel free to.
I like the chicken throughout the dressing.

Tip: I keep a colander in the sink and put all egg shells,
cans, paper, etc. in it. At the end of the process,
I just toss everything into the trash can.

At the end of three and a half hours, check the dressing.
Mine began to cook too much around the edges.
After all, the ingredients were all cooked before they
went into the pot.

I must say, THIS IS THE BEST DRESSING I HAVE EVER EATEN!!
The dressing was moist, the chicken was tender and it was seasoned
just right!! My only question is, could we leave out the chicken
and just have plain dressing? I think so!!
PLUS: My husband LOVED it!!
After 36 years of trying, I did it!!

Let me know what you think!

Angela


Sunday, March 31, 2013

* Hummingbird or Bummingbird Cake?

I promised I'd post a blog revealing my Hummingbird Cake adventure..so here goes.
And I can make this snappy and to the point.
 My enchantment with The Bummingbird...er Hummingbird Cake began here:
(We southern girls consider Southern Living magazine the "go-to" place for great recipes.)

I read about the HB cake for years...so I thought..."How hard can it be?"
And after all, it was its 35th anniversary!
The most sought after and requested recipe in Southern Living history.
I decided to make the cake layers Friday since they needed to be refrigerated. 
Tip: a wise decision.
(I was slightly "ticked" when I realized I needed another cake pan and the hubster
had ruined a perfectly good one by Pamming it to death for his biscuits.)
So I used a slightly larger aluminum throw away pan I had on hand.
Tip: Do NOT make one layer a different size from the others.
Plus, it called for 4 layers and I crammed it all into three.
That was a very big NO NO!
Early Saturday morning I made the "custard" filling.
It was delicious...how do I know that?
I ate all the leftovers..
I then proceeded to layer and ice with custard and got so
carried away that I forgot and iced the top layer.
Which BTW was the oddly sized layer and kept sliding toward the back.
Tip: Do NOT ice the top layer. The real icing will slide off.
No problem: I just took off that custard and ate it too.
Sometime before 6 a.m. Sunday:
When I began getting the table ready, I decided I needed to go ahead and ice the cake...
with Browned Buttercream Frosting.
Sounds great....omgosh.
Centerpiece in place: "Check".

China, silver and placemats ready. (Triple "Check")

Now, on to the icing (time: 6:00 a.m. Sunday).
Browned Buttercream Icing...hmmmm, never done anything like this before.
Oh, well...how hard can it be? Fast forward...
Time lapse: 9:30 a.m.
Burned the butter the first go round...did it say Burned Buttercream or
Browned Buttercream?
Next try:
Stir 1 cup butter until it turns light brown..
is this like golden brown, light "burned" brown,
how light? Uh, oh...guests arriving at 11:15 a.m.
Stir constantly for 8-12 minutes.
Tip: When it says light brown that's what it means.
When it says stir 8-12 min.on medium heat,  it doesn't mean 5-ish on high.
When it says to pour into a SMALL bowl and cover and chill,
it does NOT mean large bowl, uncovered in the freezer.
(I laid down only for a second to rest my aching knees...
but when I woke up the browned butter was frozen.)
I pulled out the big guns...my Kitchenaid mixer
and beat the living daylights out of that frozen blob....all the while
adding powdered sugar alternately with 1/4 cup milk...ending with sugar.
When the husband walked in he remarked,
"Looks like a bomb went off in that side of the kitchen."
Tip: the cake must chill for 1 hour before serving...oh, no.

I know, I know..you are being kind...saying "It doesn't look so bad."
However, if you zoom in, you will see that those pretty yellow flecks
are NOT pineapple, but rather frozen browned butter...ugh.


Everyone raved, but I was too tired to notice.

I went back to Southern Living's website this afternoon, following my 2 1/2 hour nap
and guess what?
The original recipe was really quite simple...
it  had Cream Cheese Frosting.

Then I read the comments on this year's cake...they were hilarious.
We should have been on a conference call...
they had some pretty awful comments.

Anyhoo..
My Unconventional 2013 Easter Menu

Rotel Chicken
Deluxe Green Bean Supreme
Green Salad with Mandarin Oranges and Almonds
Brianna's Blush Wine Vinaigrette
Texas Toast
AND
The 2013 Anniversary Version of
Southern Living's
HUMMINGBIRD CAKE!

Yes, I think I will just have a carrot tonight...nibble on.


A joyous Easter to you,


Sunday, December 9, 2012

Remembrance Potholders

What a week it has been! I've had doctor visit after doctor visit. Let me just say, those visits have finally done it...scared me into being serious about my health. I may go down, but it won't be with a mouthful of Little Debbie's. It's probably just as well Twinkies left the market when they did.

Also, I've decided I am a procrastinator of the worst kind! I've known about the following project since May, and even though I still have a week left before they are due, I am just now finishing them...bad, bad girl!

My mother was one of those kind of cooks that could look in the pantry and in 30 minutes have a great meal on the table. Me? NOT so...everything she cooked was delicious and in her honor, I decided to make pot holder keepsakes for our family for Christmas this year.

Since only two or three members of the family read my blog, I won't be giving away the surprise to many! And a word of caution!!! This is a time consuming project...not expensive, but it IS a labor of love. So if any family members are reading this and I know who you are :) , when you open yours at our family Christmas, you can really make a big deal of it...haha...just kidding...I think.

I originally saw this idea in Country Living magazine and then saw where a lady would do this for you for $38. What?! Yes, Virginia, it's worth it.

The first thing you must do is select a recipe in your chosen person's handwriting and copy it so that you have at least three copies on a sheet of copy paper. This is if you want to make more than one.
You will eventually be making a copy of that recipe onto cloth
and then attaching the cloth recipe to a potholder.
The potholder prototype was green, but the ones I did for family were black.
They match a monogrammed dishtowel I also made for said family.
Step One: Gather your materials.
 Buy your potholders. Also buy smooth material on which to print your chosen recipe.
I used khaki broadcloth.
The other materials are:  fusible Pellon or WonderUnder, an iron, a printer, and a sewing machine.
Some cute ribbon and a button are optional.
Step Two: cut two pieces of fusible web as wide as regular printer paper and about 1 inch high.
Step Three: Press your broadcloth so it has no wrinkles..at all.
Then sandwich the fusible web strips between the cloth and the computer paper at the top and bottom.
Press lightly until the paper is bonded to the cloth and it all lies flat.
Cut out the cloth using the paper as your pattern.
This is the paper and cloth after bonding but before being cutting out.
Step Four: This is how my printer accepts paper, so I carefully slipped the paper with the cloth attached into the printer and copied the recipes onto the cloth.
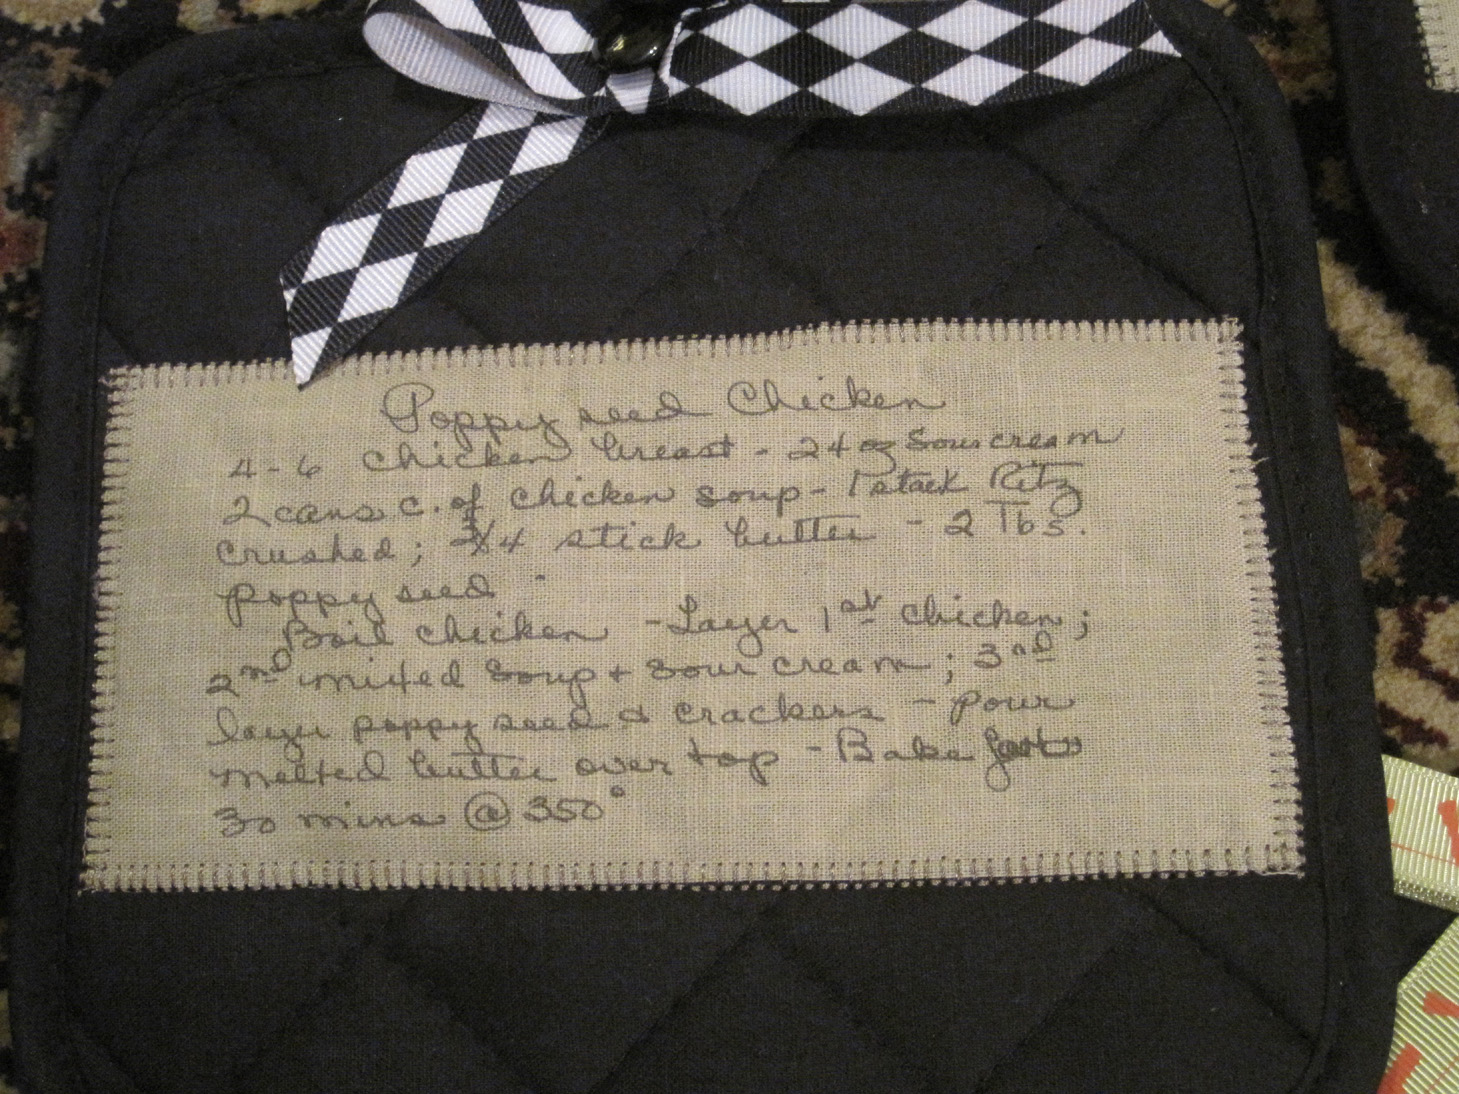
I was able to get three of my mother's recipes for Poppy seed Chicken onto the paper sized cloth.
Now, this is dicey. Once I used double sided tape rather than the fusible web and it didn't work so well,
 thus, the fusible web.
However,  REMEMBER this:
When placing your recipes to be printed on the original paper, Skip down about an inch on the page to print...thus you will avoid having the bonded part of the paper stick to the back of the recipe.
Step Five: Cut out the cloth recipe. Try to do this smoothly and clip all little threads as you go.
Attach the cloth recipe to the potholder by cutting a piece of fusible web the size of the recipe and
 ironing the recipe to the front of the potholder.
As you can see, the resulting copied recipe is clear and looks very good!
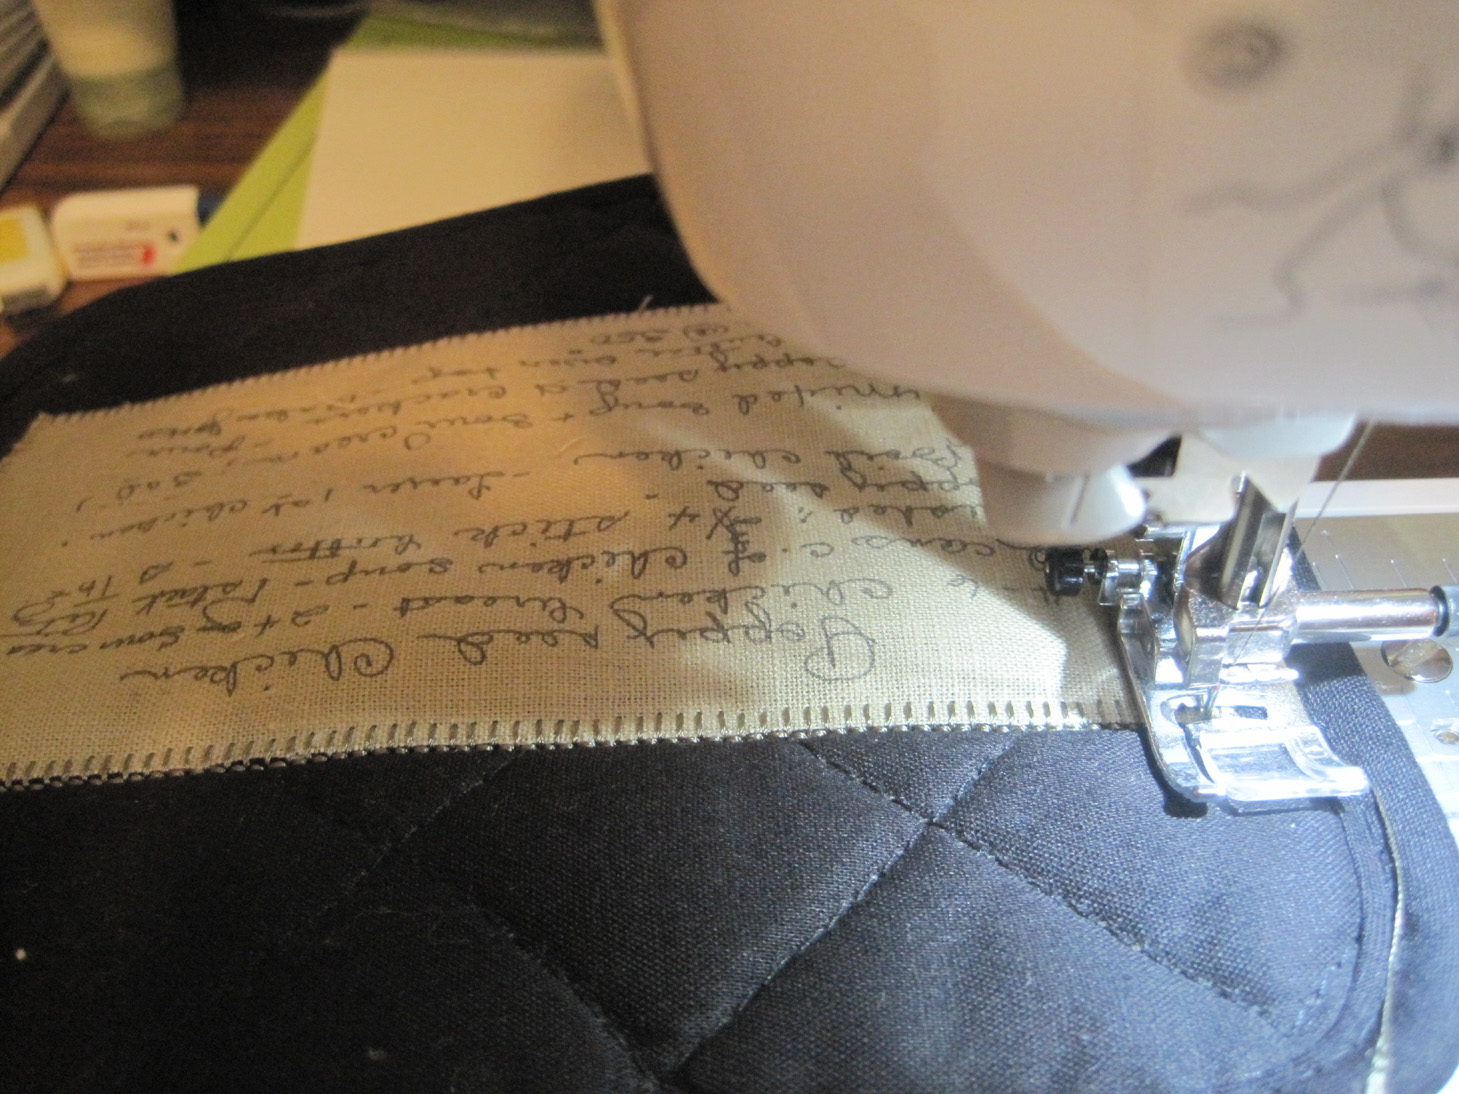
Step 6: With my Brother SE 400 machine, I finished the edges of the cloth recipe with an overcast stitch.
This could be done by hand or a little ribbon trim or rickrack could be ironed on around the recipe.
Step 7: I added a bow and a button at the top.
The bow color matches the monogrammed initial on the monogrammed dish towels.

I have no idea if the potholders will hold up to washing,
but these aren't for everyday use.
These are a remembrance of my mother and her skills in the kitchen
and the love with which she prepared our food for so many years.

Sunday, June 24, 2012

Just a Little Bit of Chocolate, Please!!

Oh,yum! I loooove it when something I try actually works the very first time! As I was "Pinteresting" last week, I saw a very short recipe that sounded like it was written just for ME! I had been rummaging through the cabinets looking for a cookie, for anything with a touch of chocolate! It was too late to go get something and all I wanted was a little bit! When I went back to Pinterest, it was like my fairy godmother waved her wand and presented me with recipe! This pin came from thehiddenpantry.blogspot and it is wonderful!  

Recipe: 1-2-3 Cake

Ingredients:
*two boxes of cake mix...one MUST be Angel Food...your choice on the other. My choice was Devil's Food to go with the Angel Food.
*water
 
That's it! Now...
Mix both mixes together in a large pan or bag. Mix thoroughly. (See below.)
(Now here comes the rather ironic part...I actually reversed the following directions and the result was still good...so try it both ways and see what you think.) Using a mug, place 3 tablespoons of the mix and 2 tablespoons of water in the mug and stir. Place in the microwave for 1 minute ( mine required 1 min. 10 sec. but I used 3 T. of water and 2 T. of mix!).
It should look like this when it comes from the microwave.
It may look slightly different since I reversed the 3 and 2 T. of ingredients, but you get the picture!
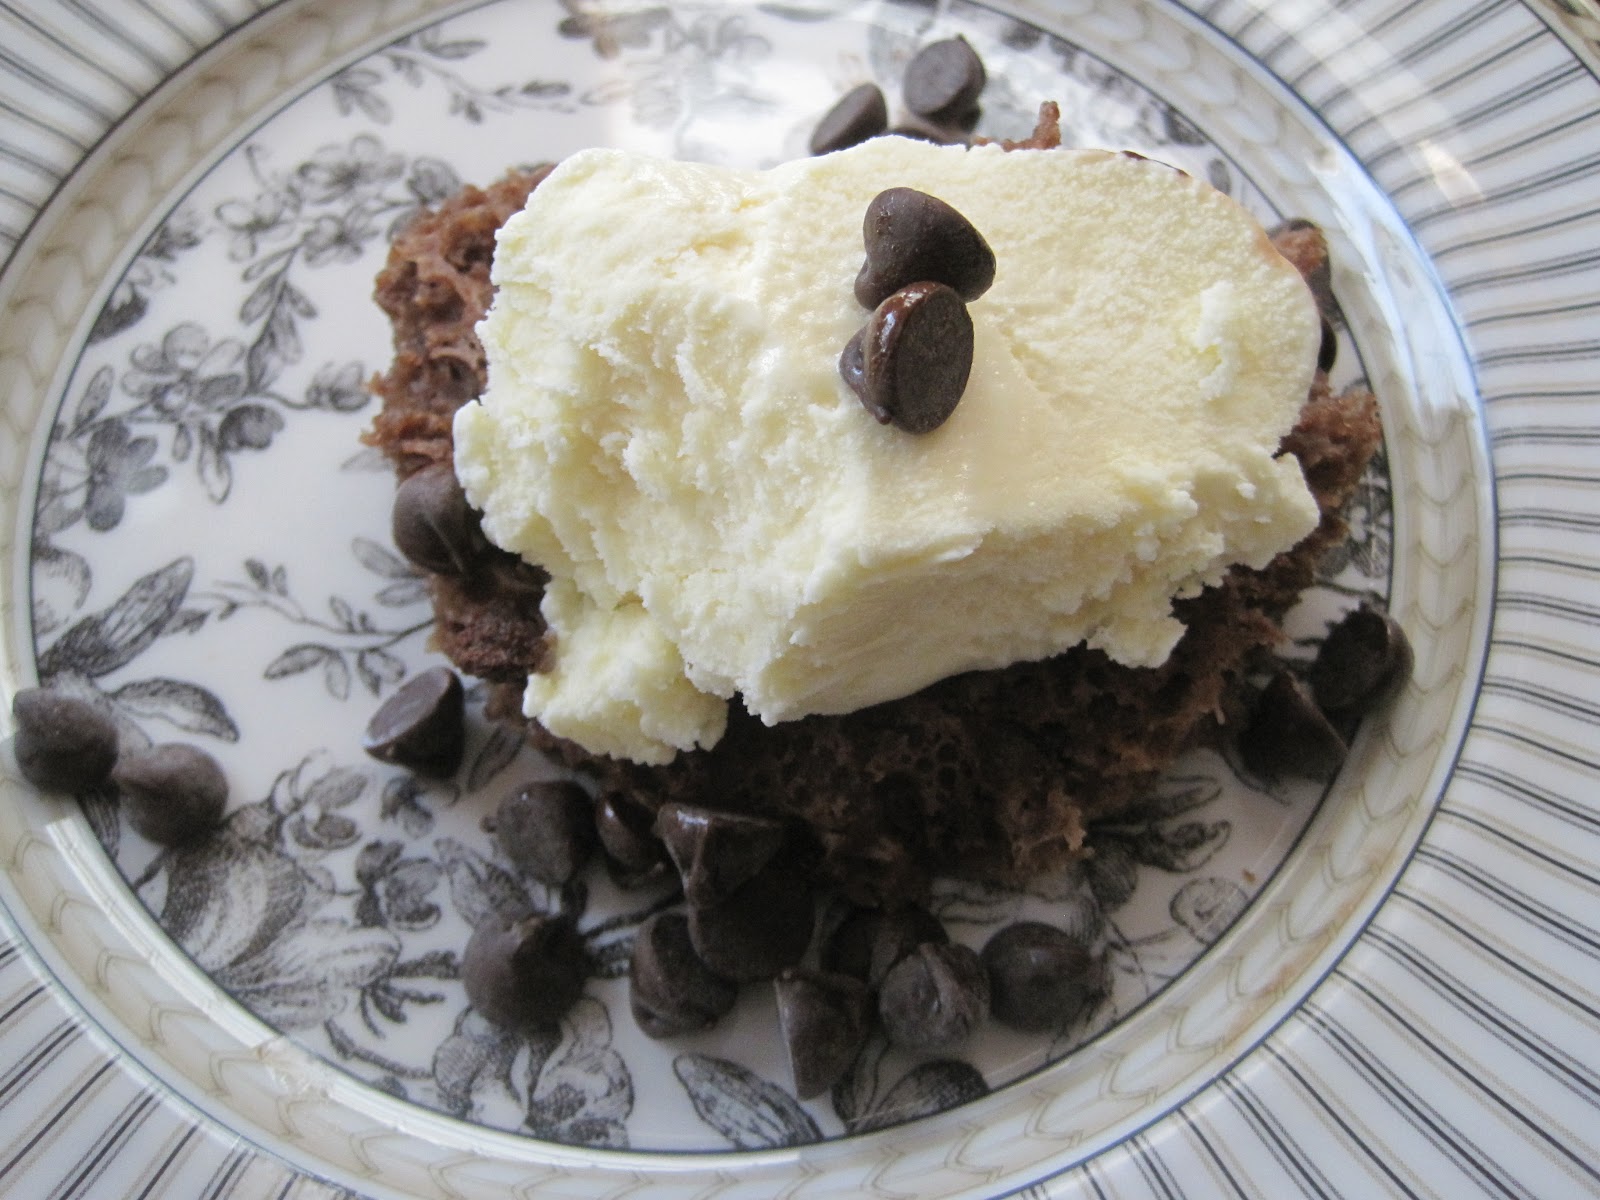
I turned it out onto a plate so you could see what it looked like...but this would be unnecessary if you were in a real hurry for a quick snack. It's about the thickness of two small pancakes. It was nice and hot, so I added just a tablespoon of ice cream and a few chocolate chips to jazz it up a little! That would be unnecessary since it was very good alone!
If you buy the little containers of individual dessert cakes at the grocery store, you will  pay over a dollar for each cake...this makes tons of the little things and all your cost would include would be the two mixes.
What a cute little Christmas happy! If you put the mix in a small Ball jar, you could use an inverted cupcake paper to go between the top and the lid!!
Lots of cute cupcake holders on the market right now...check out Michael's. 

I love it when a plan actually comes together,

Saturday, June 18, 2011

A Summer Coffee Wedding Shower

A dear friend's son is about to enter the world of weddings...today was an important day as several friends of Linda, the Mother of the Groom held a Coffee Shower at our friend, Pam's lovely home. The honorees were Walt and Farris.

Pam makes it look easy... everything was in perfect order......

The beautifully appointed serving table was covered with an Army Navy cloth.

Pam's home is older and exudes charm and character.

Upclose view of the centerpiece...beautiful silver container!!

We did it the old fashioned way...silver, crystal, and china.

Every detail was special...for the special couple...Walt & Farris.

Even linen napkins for each guest...when is the last time you had this treatment?
The menu included:

Tiny open faced tomato sandwiches...combine 2 c. mayonnaise, 1 c. sour cream, chopped green onions and bacon bits. Cut bread into desired shape, smooth on mayo combo and top with tomato. Easy and delicious.

Homemade quiche...no frozen anything would do!!

Blueberry muffins and their sweet counterpart, banana muffins peep out from under a lace lined antique container.

Sliced fresh fruit in a vintage cut glass bowl.
And last but not least...cheese straws. What self respecting southern bridal shower does NOT have cheese straws?

The happy couple and their mothers arrive! (And may I say, that I taught the groom and he is without a doubt one of the finest young men on the planet!!) Look at those happy faces.


Pam's house has many areas for entertaining.

The smaller dining area held a wonderful green birdcage all decked out for the occasion.

Lemon water, a fruited punch and water were served from this table.


I "sneaked" a few other pictures of areas of the house that I LLLOOOVVEE!

My friends are very patient with me and this blog business...they just let me do what I want and wink at each other behind my back...I saw you winking...I know who you are.


Living room paper weights...if you read this blog, you know my love of the things!


Another rosie arrangement.

After a morning of good food and the fellowship and love of great friends, I thought to myself, "You know...times may change, but it just doesn't get any better than expressing your love and affection for others by going the extra mile. I think the old fashioned way IS the better way. Really, don't you?"

I am joining Pink Saturday, click on the button on the right and come by.


May all your friends be loyal ones,